Roof Flashing Replacement Services Overview
This page explains roof flashing replacement services and helps property owners compare local contractors who handle the work.
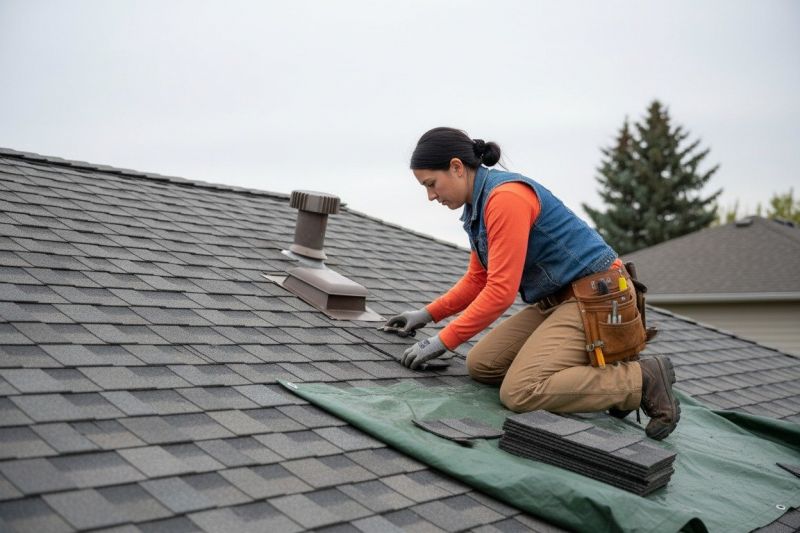
- - Residential homeowners seeking to repair or upgrade roof flashing around chimneys, vents, and skylights.
- - Commercial property managers needing to replace or upgrade roof flashing on storefronts, warehouses, or office buildings.
- - Property owners requiring professional assistance with roof flashing replacement for enhanced weatherproofing and durability.


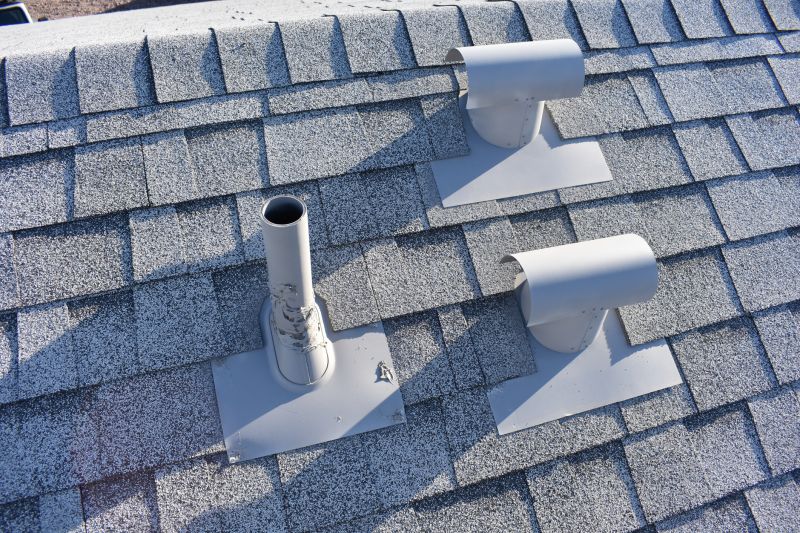
Roof flashing replacement is a common service performed by local contractors to help protect properties from water intrusion and damage. Over time, flashing can become corroded, cracked, or displaced due to weather exposure, making it essential to replace worn or damaged components. Property owners seeking this work typically look for experienced local pros who can assess the condition of existing flashing, recommend appropriate materials, and perform the replacement with attention to detail. These professionals understand the importance of proper installation to ensure a durable and effective seal around roof features such as chimneys, vents, and valleys.
Connecting with local service providers who specialize in roof flashing replacement can help property owners find the right solutions for their needs. These contractors handle a range of related tasks, including removing old flashing, installing new metal or rubber flashing, and ensuring proper integration with roofing materials. By working with local pros, property owners can access knowledgeable professionals who are familiar with regional building conditions and standards. This helps ensure that the flashing replacement is completed correctly, providing long-term protection for the roof and the structure beneath.
This guide helps homeowners understand the key factors involved in roof flashing replacement, making it easier to plan their project. It provides tips for comparing local contractors and service providers who handle flashing work in the area. By highlighting important considerations, this resource supports informed decisions when connecting with trusted local experts.